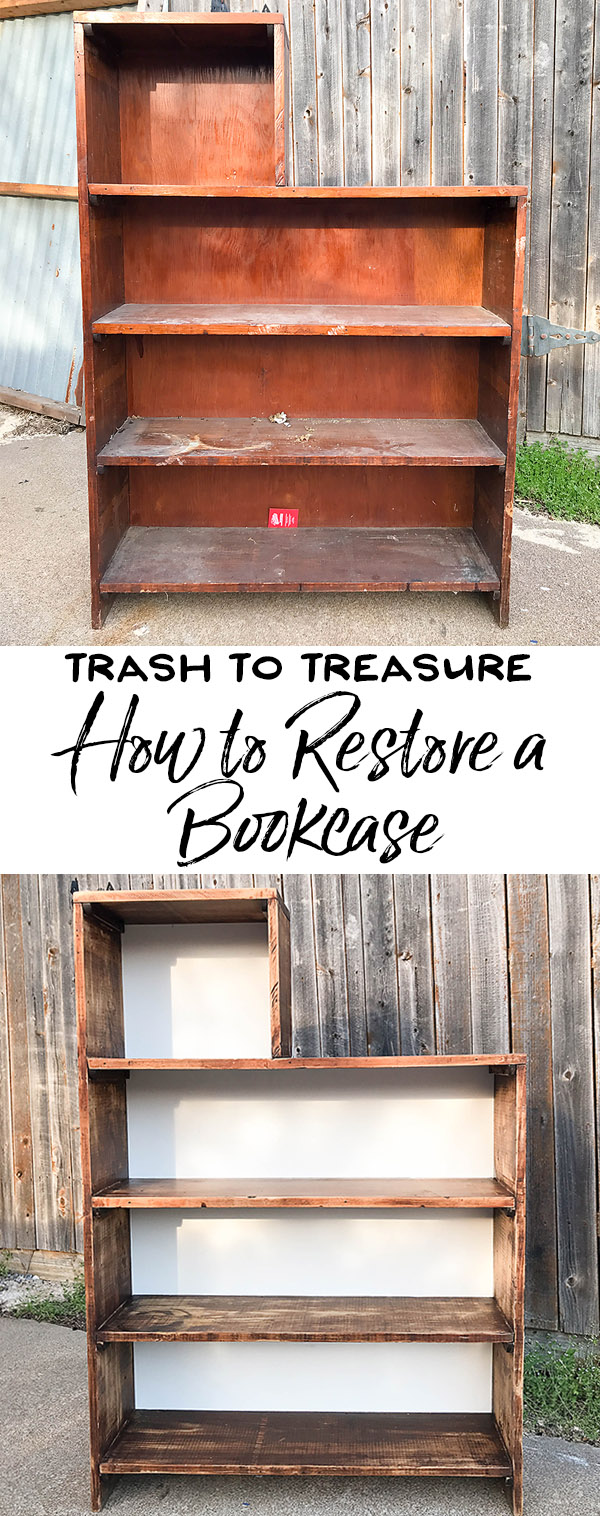
Before and After: How to Refurbish an Old Bookcase
How to Refurbish an Old Bookcase – Discover when to sand and restore a salvaged piece and when to paint. Plus, check out the before and after of our beautifully refurbished bookshelf.
This week, I thought I’d share a simple restoration project. It’s not exactly a ‘DIY’ or ‘How To’ because every piece of furniture you find to restore will be a little different. But I thought it might be helpful to see behind the scenes and get a peek into what goes through our heads when we save something from the side of the road.
Sometimes we want to sand and stain the piece to bring it back to its original glory, and sometimes we decide to paint it to give it a fresh new look.
How to Refurbish an Old Bookcase
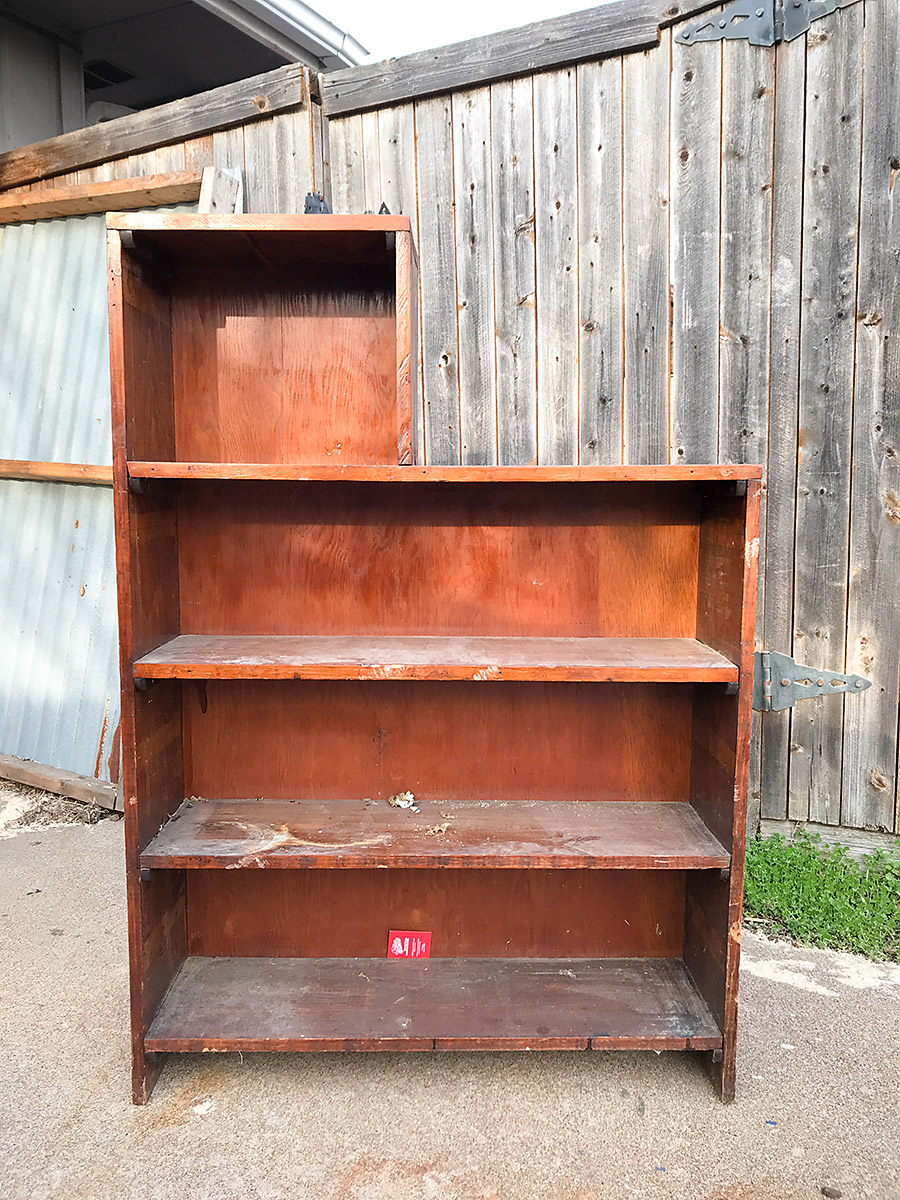
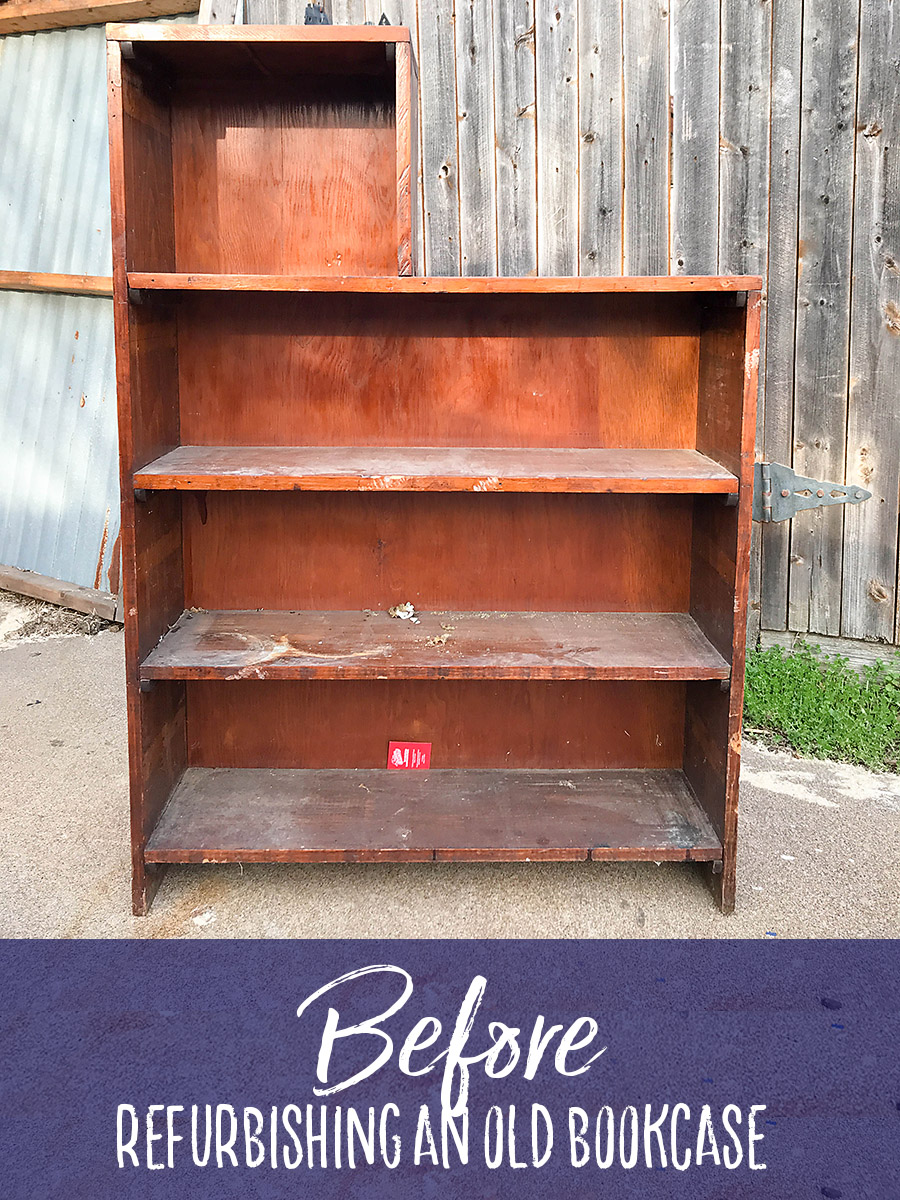
Step One: Find Your ‘Trash’
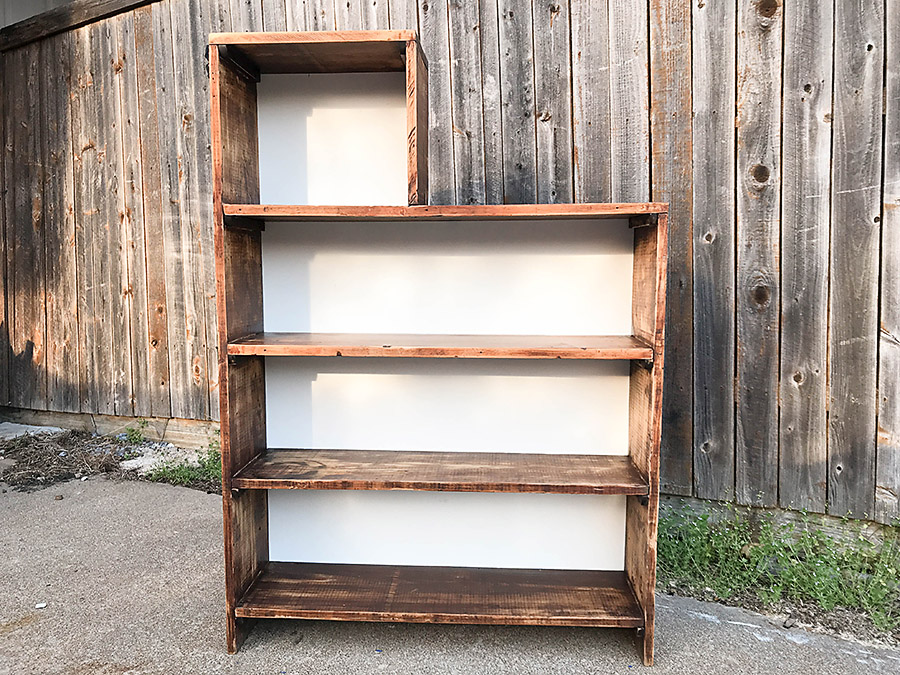
We found this little bookshelf on the side of the road and we thought (with a little love) it would fit perfectly in our daughter’s closet.
Now that our kids are a little older, we are trying to move all of their toys and games out of our living room and into their own rooms. When looking for ‘trash’, you can look in thrift stores or check the side of the road on trash days. I recommend you steer clear of antique shops when looking for pieces to restore if you’re looking to save money.
Step Two: Decide Whether to Stain or Paint
The big question with this piece is should we paint it or try to sand and stain the wood. I love the look of white furniture, but I also really love exposed wood.
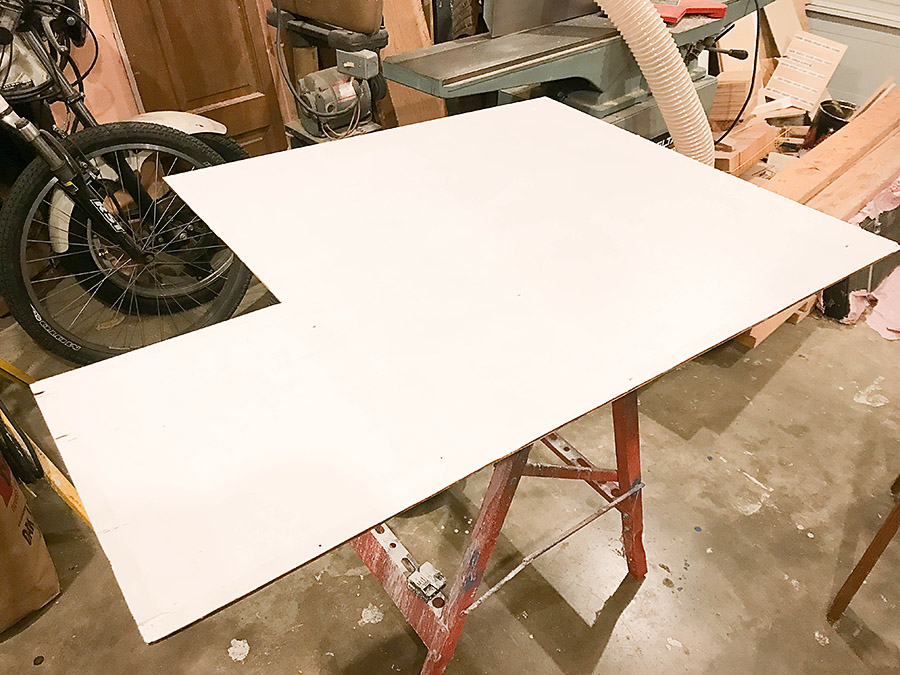
At first I wanted to sand and stain the whole piece, but we realized that the back of the bookshelf was thin veneer. This kind of veneer is not worth restoring, so we decided to paint the back and stain the sides of the shelf.
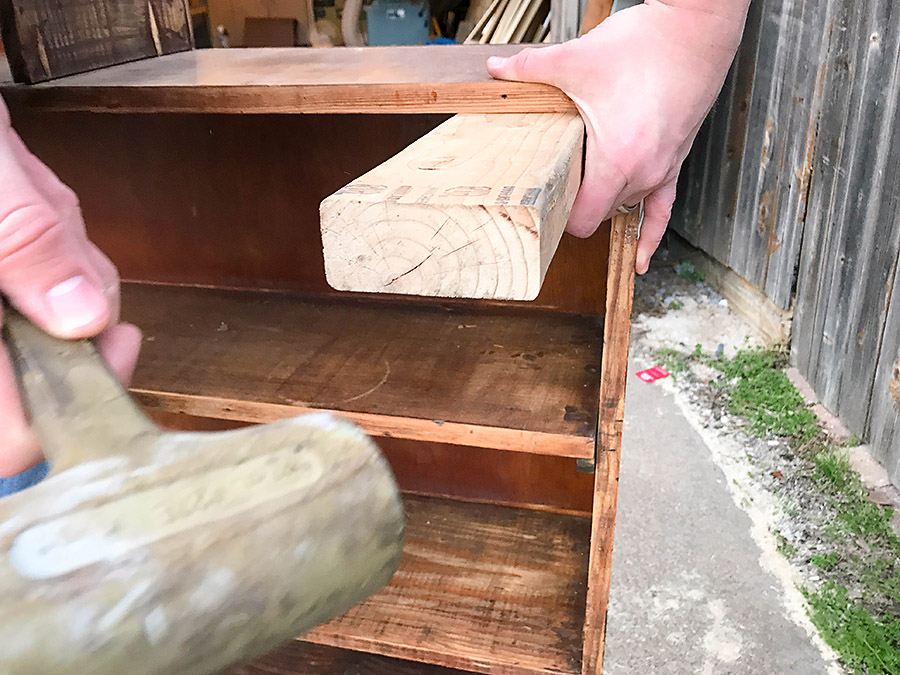
Step Three: Disassemble the Bookcase
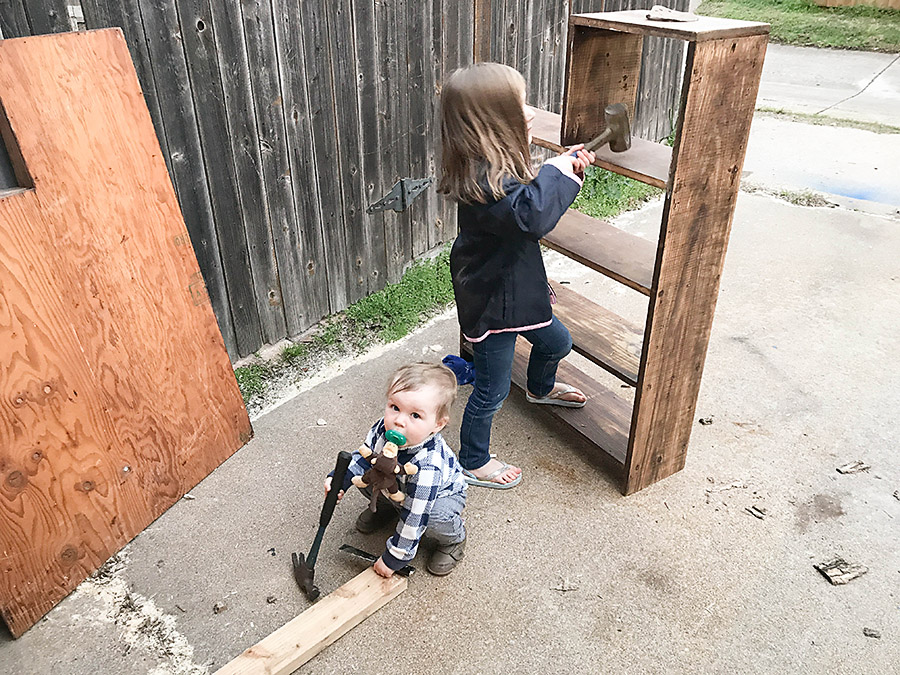
(Of course the kids had to “help” with the disassembly – it’s a good thing I love raising little builders!) In order to make restoring the bookshelf a little easier, we took off the back. We kept all the nails to reuse when we reassembled the piece.
Step Four: Sand the Bookcase
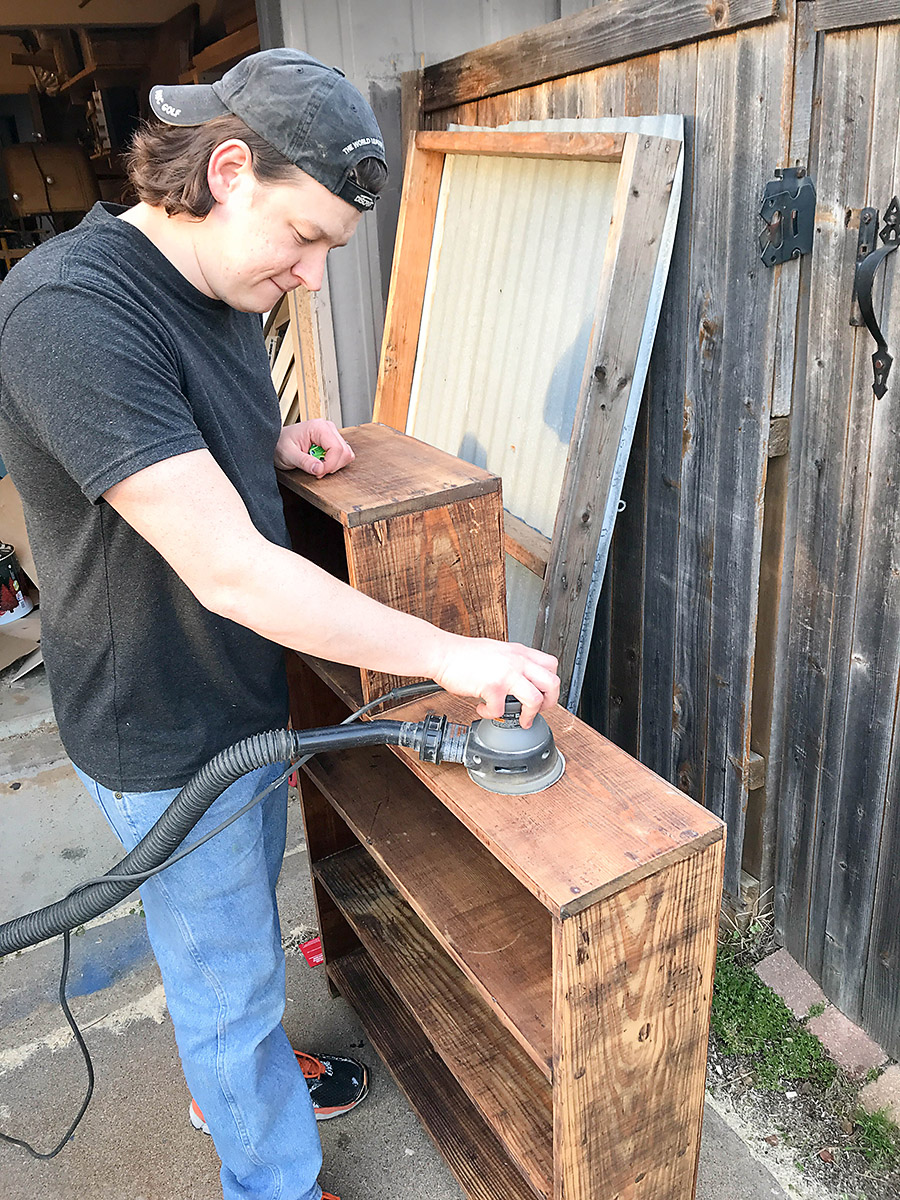
It took a LOT of sanding using a combination of a random orbit sander and hand sanding, but we ended up with this really lovely finish that you often get with older wood pieces.
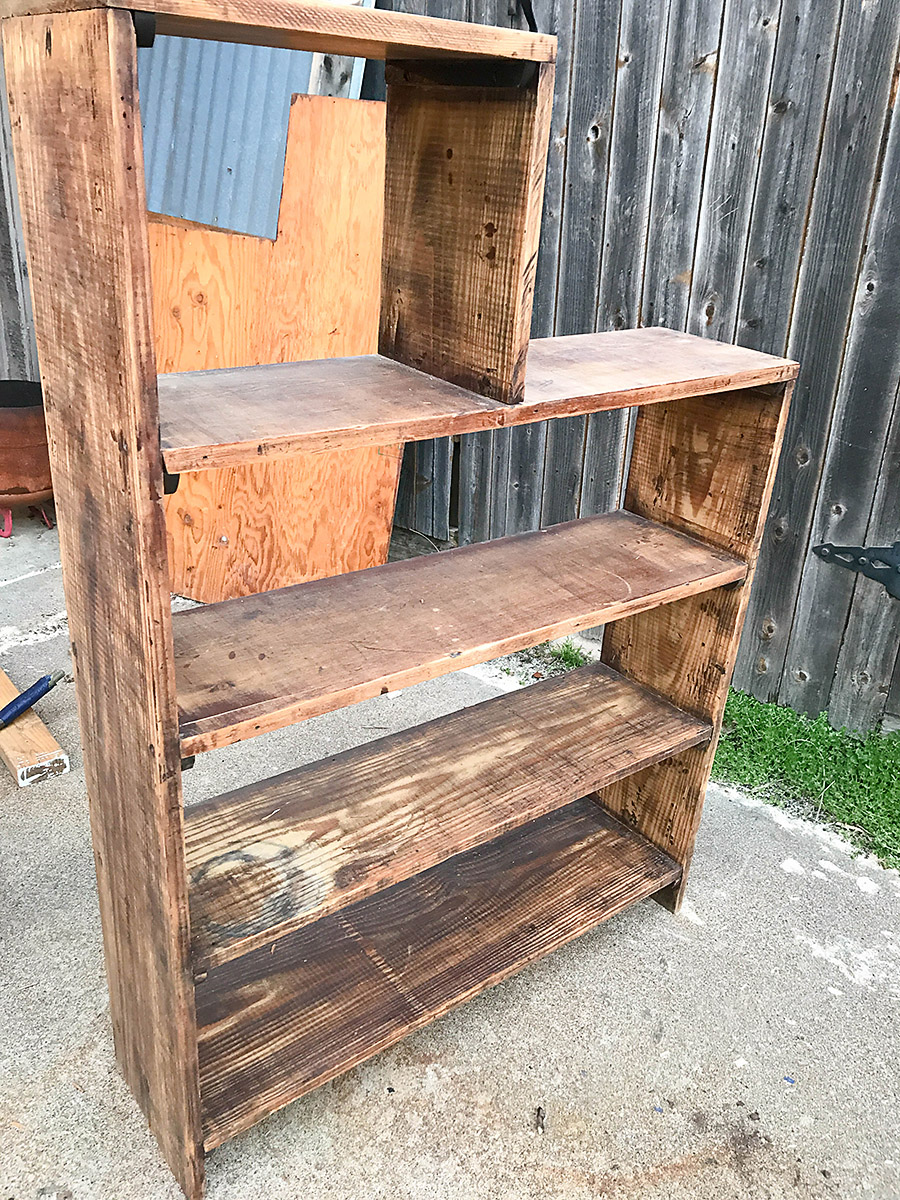
Step Five: Stain and Finish the Wood
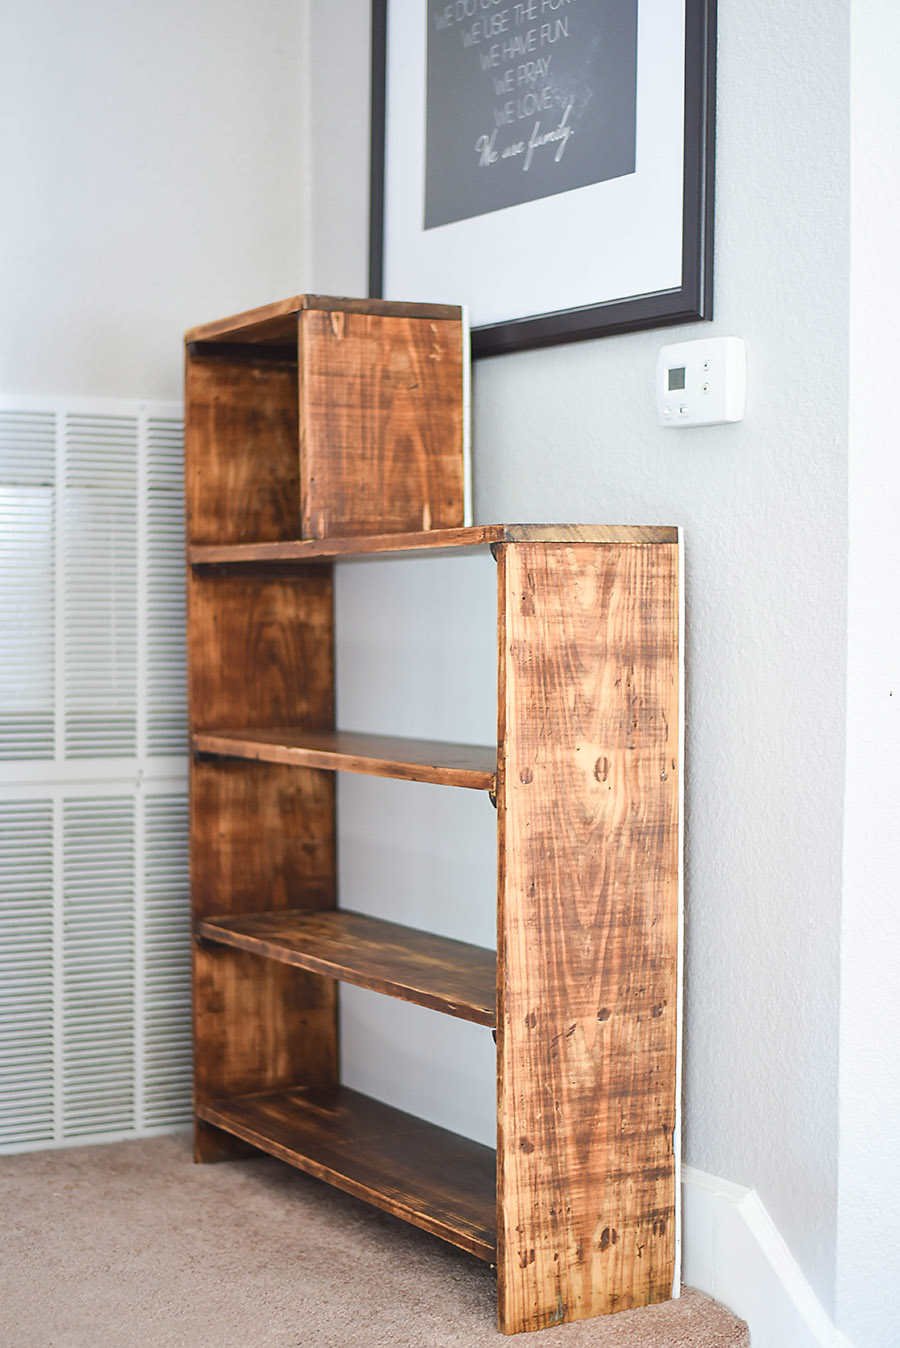
After we sanded the book shelf, we actually decided it would look lovely without a stain, so we just opted to clear coat the bookcase. To protect the wood, we added two coats of satin Polycrylic. It also helps to bring out some contrast in the woodgrain.

Step Six: Paint
We painted the back using some leftover white paint we had after another project.
Step Seven: Reassemble the Piece
We just nailed the backing onto the back of the bookcase using the nails and nail holes from the original piece and it was finished! Overall, this was an easy weekend project, but it’s a great storage solution.
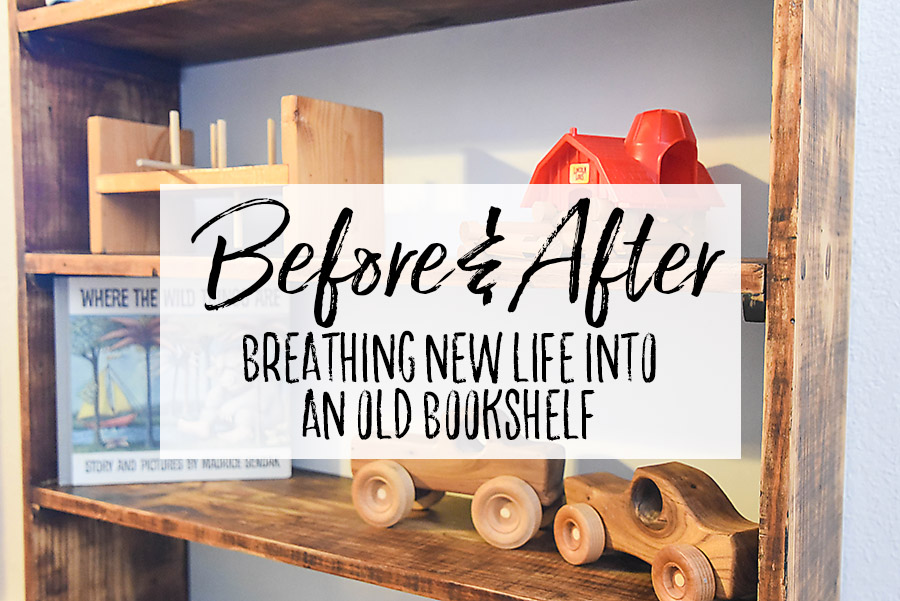
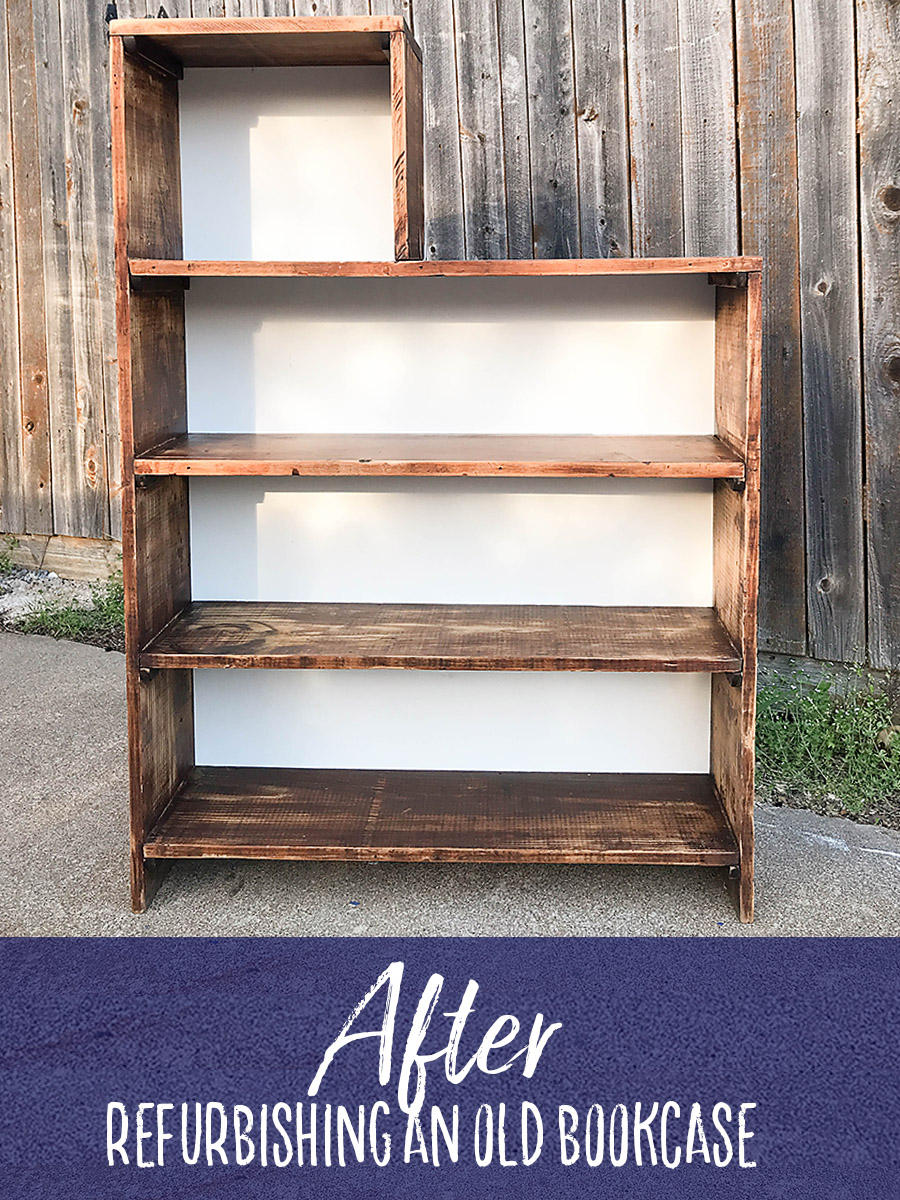
Before and After: Refurbished Bookcase
What do you think of the before and after?
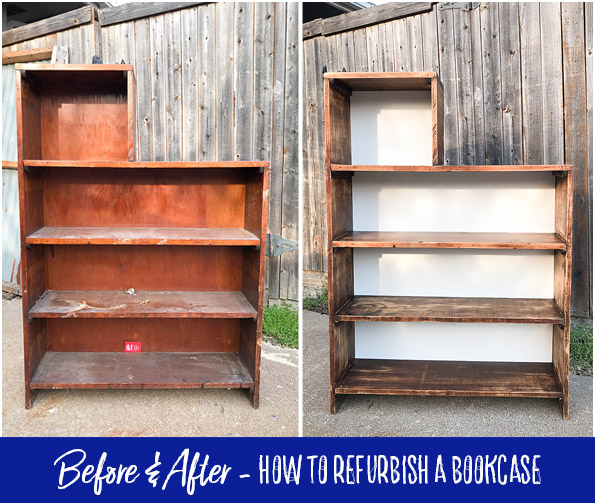 I love it – there’s so much texture in the wood. You can tell that it’s not a piece that we went and bought at Pottery Barn, but it also doesn’t look like it came out of the trash!
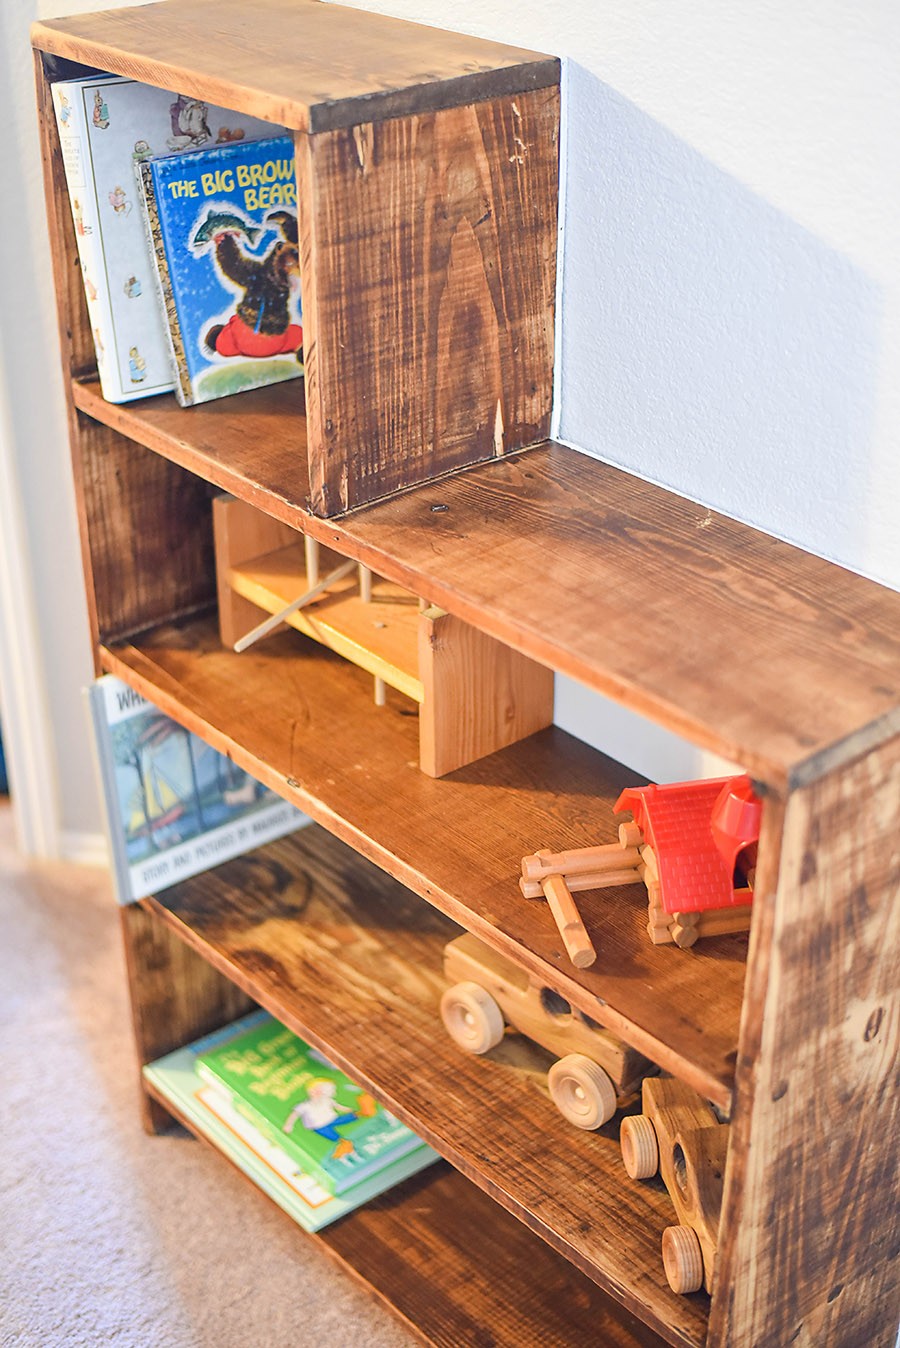
I’m amazed every time Daniel comes home with a piece of ‘trash’ and a vision.
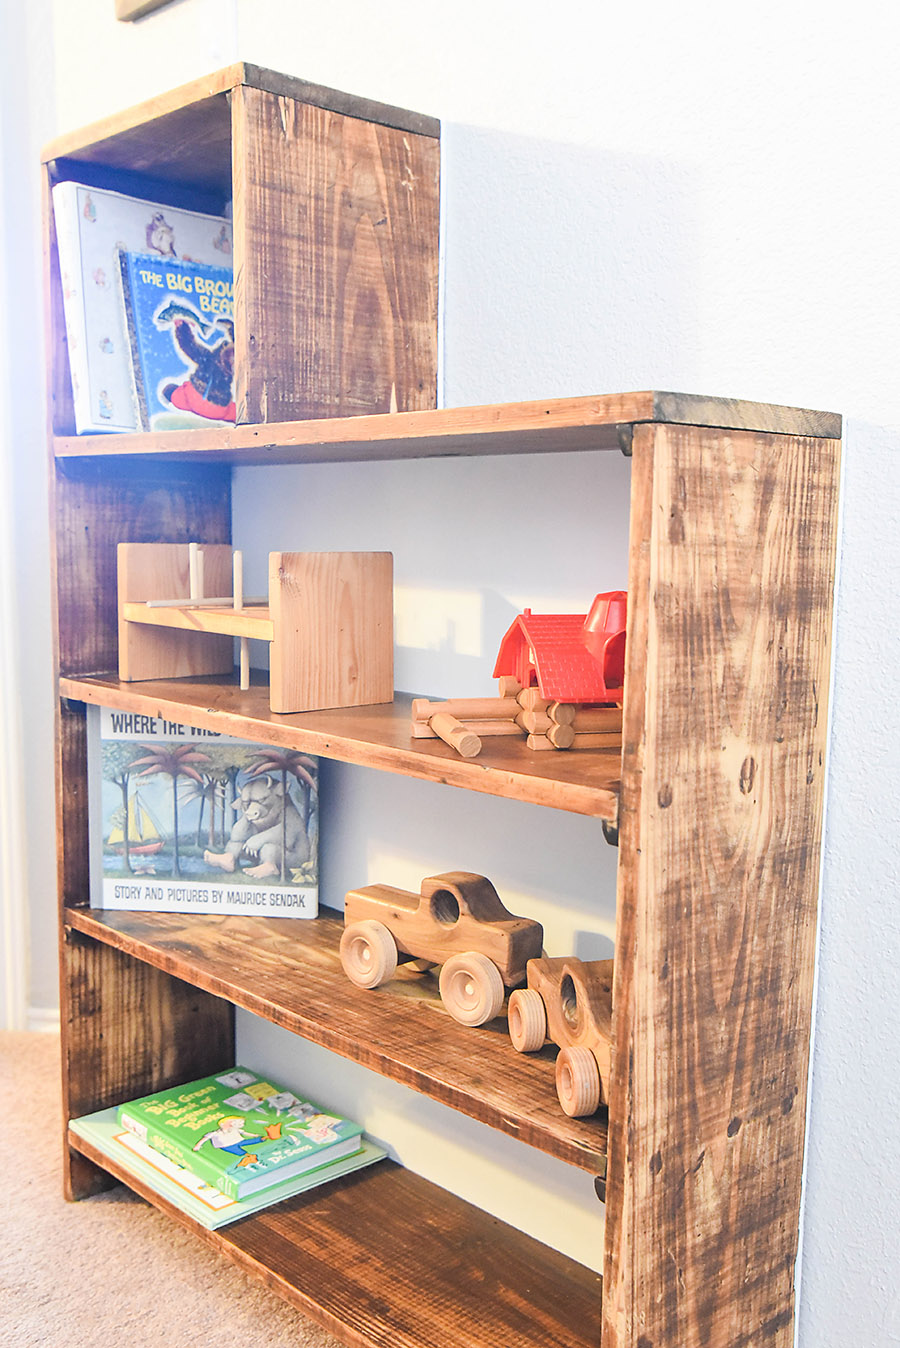 Since I’ve been reading Marie Kondo’s The Life Changing Magic of Tidying Up, I’ve been on a mission to give everything it’s own home. This means I don’t want some of the kid’s toys in the closet, some downstairs in a cabinet, and some in the bathroom closet. They should all fit in their own rooms – they can bring out toys to play with them and then put them back in their “homes” when they are done. Now, this sounds GREAT in concept, but I’ll let you know how it goes in a couple of weeks, but this bookcase is a step in the right direction!
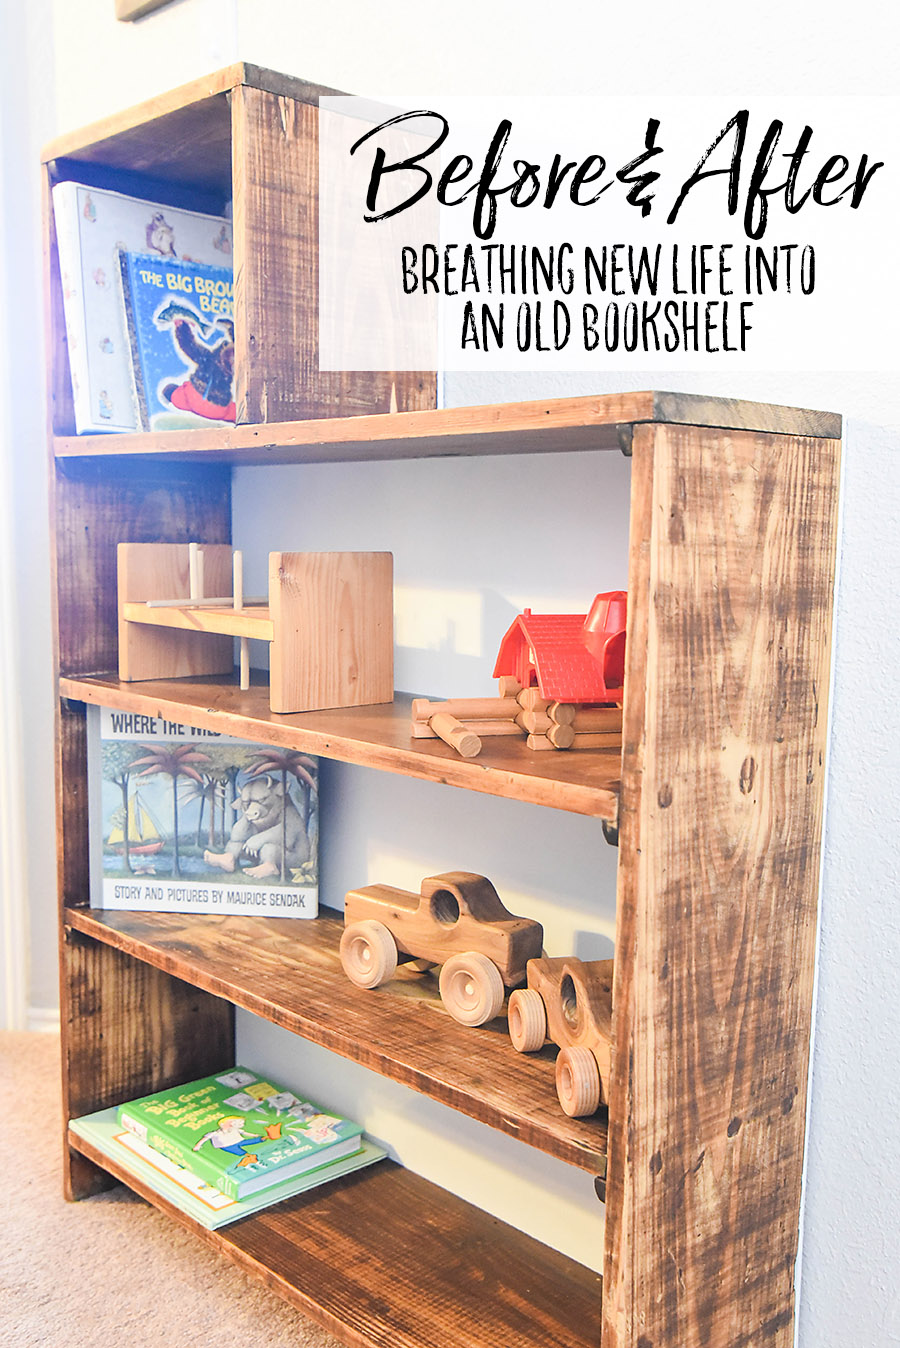
I hope this will inspire you to tackle a restoration project – they’re really not as hard as they look and a bookcase it the perfect place to start! If you have breathed new life into an old piece of “trash”, come over to The Handcrafted Collective and show us your before and after!
so hi Ms. Megan and family- what a cute pix of the kids, the baby with the ruler, hammer and his pacifier in his mouth!!! I used to deliver newspapers 7 days a weeks and had about a 50 mile round trip. i got to know when trash day was in what neighborhood, and gurl, i had a ball!! Truthfully, its how i took my kids on vacation a few times. Anyway, I was curious to know what kind of a price tag you would put on the bookcase. Im not interested in buying anything at the time, but just was wondering? Ok, well bless you all and take care!! Thanks
Pru